
04 Mar The Ultimate Guide to Laying Natural Stone Paving
Transforming your outdoor space with natural stone paving not only enhances its beauty but also adds durability and a touch of elegance.This process involves selecting and arranging precisely cut stones into a cohesive, flat surface that withstands the test of time.Natural stone paving utilises various types of cut stones to establish a robust and even surface outdoors. Choices like sandstone, limestone, granite, and slate bring distinct shades, textures, and resilience, making them popular pick for their natural elegance and strength in outdoor landscapes.
Planning Your Project
- Evaluation: Start by assessing the area for its drainage capabilities, type of soil, and the purpose of the paved space. The stone’s appearance should blend perfectly with your garden’s design.
- Measurements: Accurately measure the area to determine the required amount of stone and other materials, factoring in an extra 10-15% for potential adjustments and breakages.
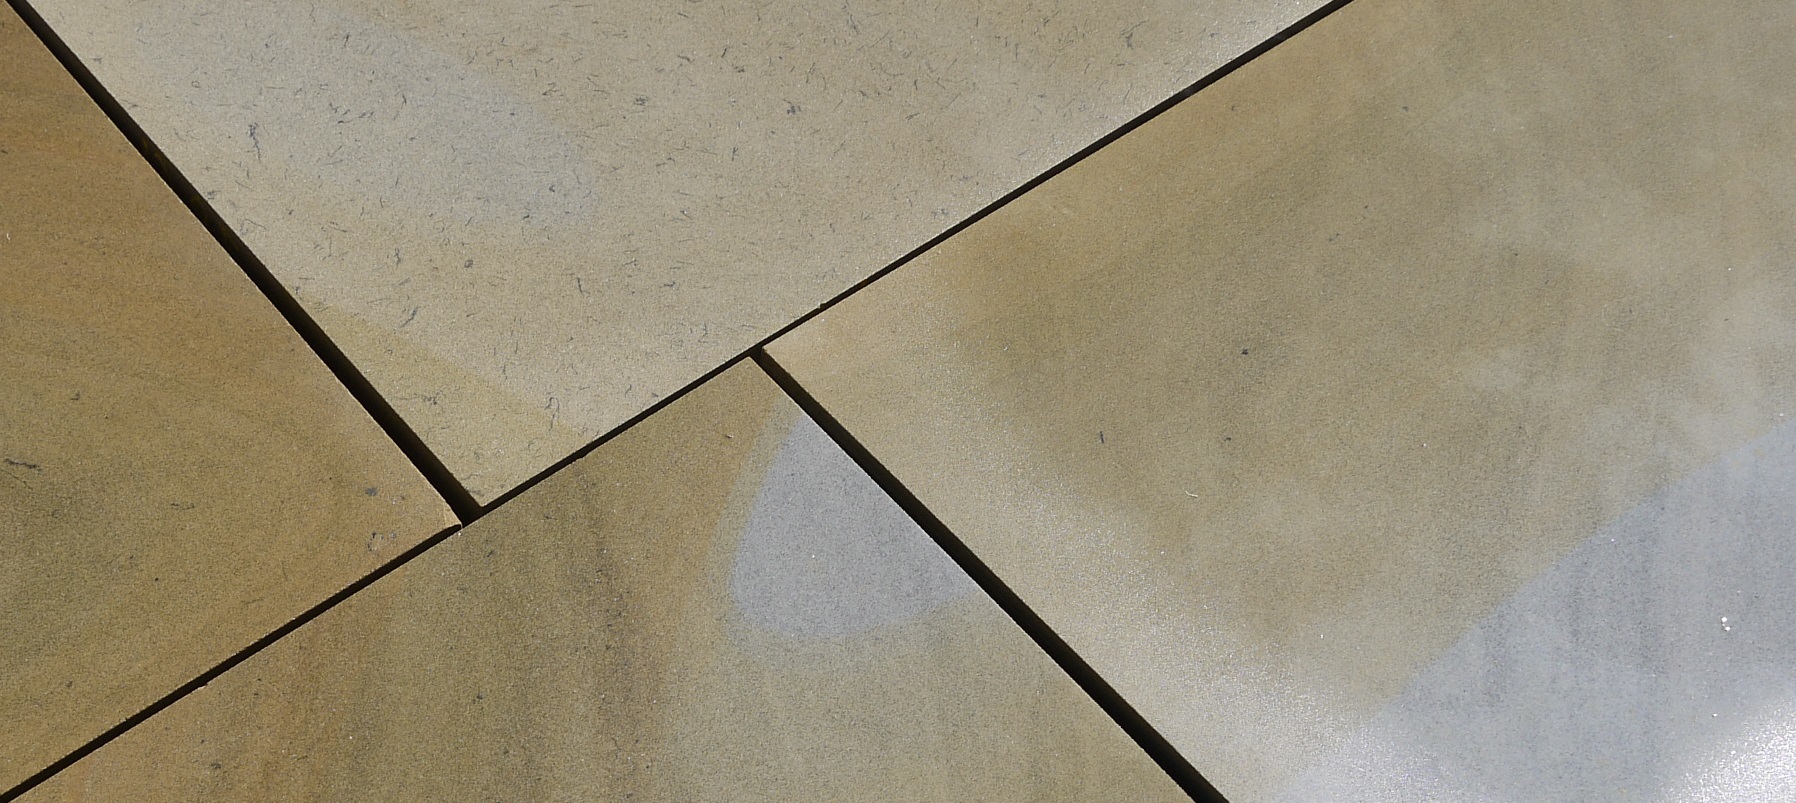
- Design Layout: Design your stone layout, considering the available stone shapes and sizes. Opting for a staggered joint pattern can enhance the paving’s stability.
Groundwork and Preparation
- Site Clearance: Remove any existing pavement, vegetation, and debris. Ensure the area is levelled, incorporating a slight slope for efficient water drainage.
- Foundation Layer: Lay a foundation of at least 100mm of MOT Type 1 aggregate, compacting it in stages to form a solid base.
- Edge Restraints: Surround the area with edge restraints to prevent the stones from shifting, using sturdy materials like metal, treated wood, or stone blocks, anchored securely.
Setting the Stones
- Cement Preparation: Mix a cement mix consisting of four parts building sand to one part cement, adding water until it reaches a pliable consistency.
- Stone Placement: Begin at a corner, applying cement underneath and on the back of each stone. Place the stones with 10-15mm gaps for the joints, lightly tapping them level with a rubber mallet.
- Stone Trimming: For edge pieces, mark and cut the stone using a stone cutter or angle grinder equipped with a diamond blade, ensuring you wear protective gear.
Jointing and Clean up
- Filling the Joints: After all stones are in place and the cement has hardened, fill the joints with a prepared jointing compound, making sure each gap is completely filled.
- Surface Cleaning: Once the compound sets, gently clean the stone surface with a soft brush and water to eliminate any leftover compound.
- Sealing (Optional): To further protect and enhance the stone, consider applying a sealant, which can help in resisting stains and weathering.
Maintaining Your Natural Stone Paving
Natural stone paving is renowned for its low maintenance requirements. Regular sweeping to remove debris, occasional washing with water to remove dirt and stains, and an annual check to ensure the integrity of the jointing compound will keep your paving looking pristine. Addressing any stains, moss, or algae promptly will prevent them from causing damage to the stone surface.
Wrapping Up
By embarking on a natural stone paving project, you are investing in the timeless elegance and functionality of your outdoor space. With meticulous planning, careful preparation, and attention to detail during installation, you will create a durable and beautiful area that enhances the aesthetic appeal of your home and garden.
Natural stone’s inherent durability and the classic appeal make it a perfect choice for various outdoor applications, from serene garden paths and cosy patios to grand entranceways and pool surrounds. The unique character of each stone, with its natural variations in colour and texture, ensures that your paving will have a unique charm, blending harmoniously with the natural environment.
Sorry, the comment form is closed at this time.